Installing Your New Chiropractic Table Upholstery Covers
Preparation
- Your replacement upholstery covers are custom-sewn to your provided measurements.
- Begin by unscrewing the cushion from the table.
Removing the Old Cover
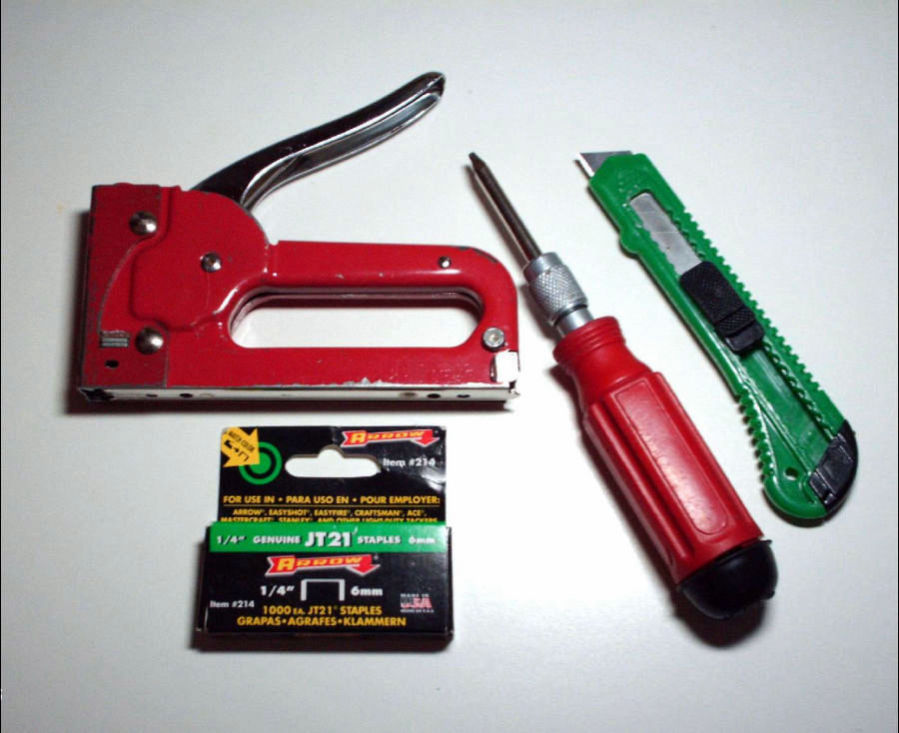
1. Use a utility knife to carefully cut along the staple line of the old cover.
2. Gently pull off the old cover, ensuring you remove all staples.
Fitting the New Cover
1. Place the cushion into the new cover.
2. Flip the cushion over and smooth out the cover.
3. Ensure the cover is centered and fits evenly around all sides.
Securing the New Cover
1. Turn the cushion so the bottom faces you.
2. Fold the excess material over, similar to wrapping a gift.
3. Staple the cover in place, spacing staples every 1" to 1.5".
4. Double-check that the cover isn't too tight on any side.
Finishing Up
1. Once the new cover is securely attached, screw the cushion back onto the table.
2. Repeat the process for each cushion on your chiropractic table.
Remember to work carefully to achieve a professional-looking result and maintain the functionality of your table.
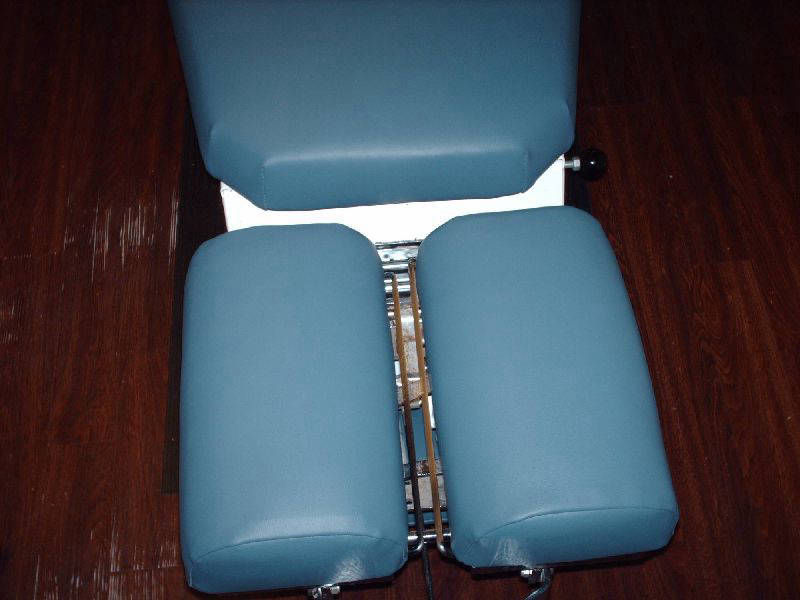
 HEAD REST CUSHIONS BEFORE
 HEAD REST CUSHIONS AFTER
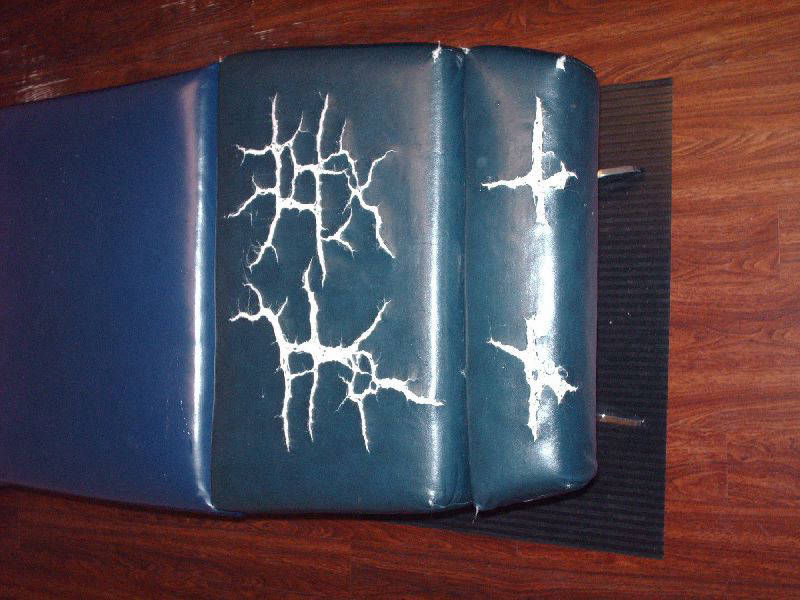
 TABLE CUSHIONS BEFORE
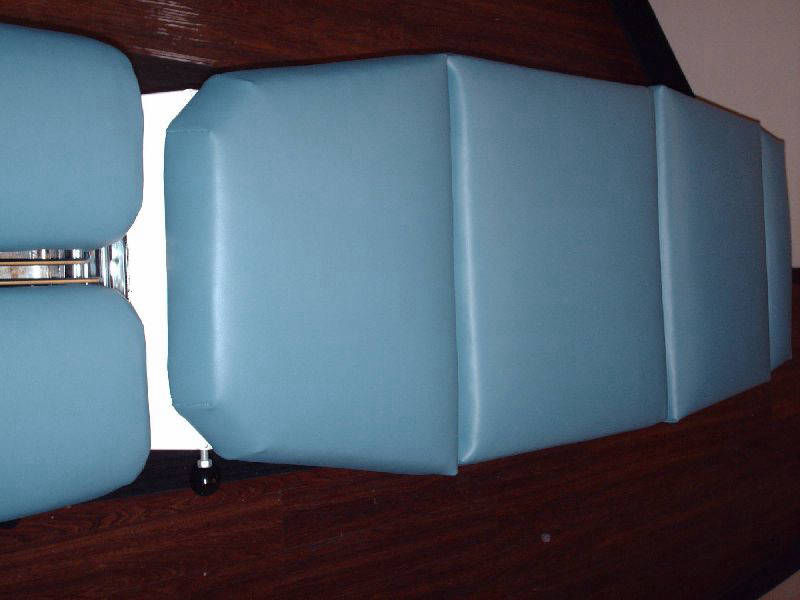
 TABLE CUSHIONS AFTER